Here are the instructions on how to install, activate, calibrate, and update Xhorse Dolphin XP-005L.
1. Installation
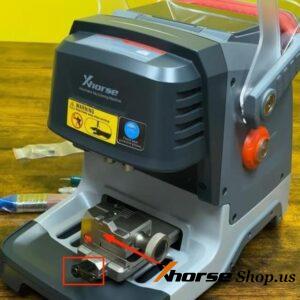
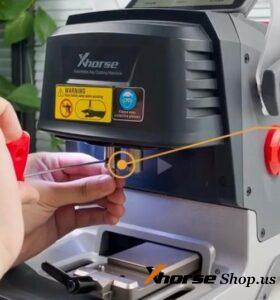
Remove the protective bracket by loosening three screws>> Release the screw that locks the clamp, position a clamp M5, and fasten it securely>> Insert the cutter into the designated hole and tighten it when it reaches the limit.
Follow the same process for installing the probe.


2. Activation
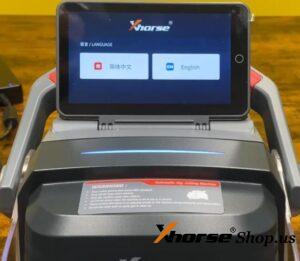
To get started with the machine, we have to activate it. Charge it and turn it on for the first time, then we can choose the language we want to use and confirm a few prompts.
It’s important to note that the machine’s built-in screen is capable of displaying both CN and EN, and the Xhorse app supports multiple languages.
- Connect the machine to Wi-Fi
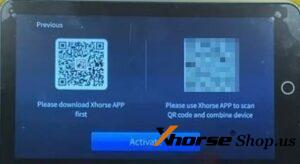
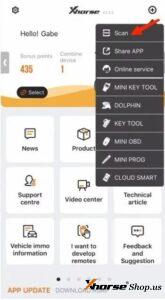
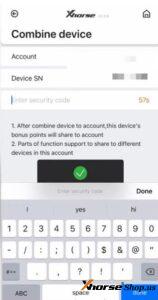
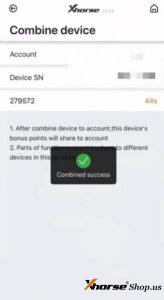
- Use the Xhorse app to scan the QR code and enter the verification code to bind it to our account
- Click “Activate” to complete the activation process.
3. Calibration
Go to system
- machine parameter
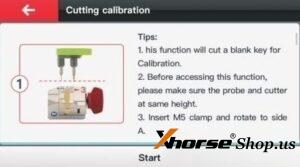
- cutting calibration
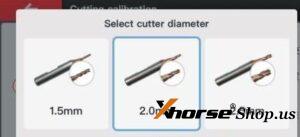
- choose the cutter diameter that has been installed
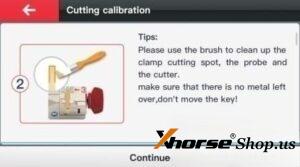
- place a key blank onto the clamp, and follow the instructions provided on the screen
- click “Continue” to finish the calibration process.
Afterward, you’ll be able to begin cutting keys using the Dolphin XP-005L.
4. Update
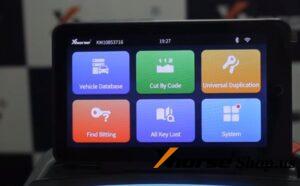
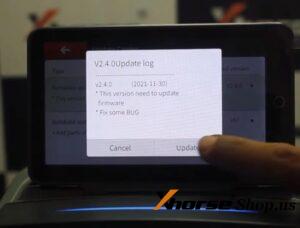
- Click the “System” option on the main menu
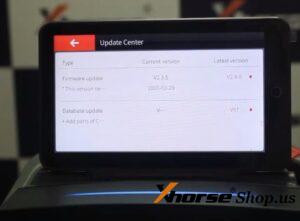
- navigate to the “Update Center”,
- you can see both the current and latest versions of firmware and database updates
- click “Firmware update”
- Press the “Update” button
- the system will reboot automatically after the firmware update is complete
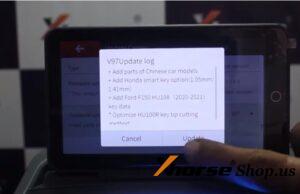
- click “System”
- “Update Center”
- select “Database Update” and click “Update” to initiate the update process
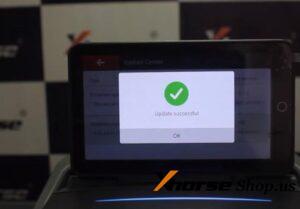
- update successfully.
These are some procedures users would go through before start using dolphin xp-005l.


Leave a Reply